Thyristors Online | High-Quality Power Semiconductors

**Thyristor Tango: A Step-by-Step Guide to Perfect Connections**
(Connecting Thyristors Correctly: Tips and Tricks)
Thyristors are the unsung heroes of electronics, quietly controlling power in everything from dimmer switches to industrial machinery. But hooking them up wrong? That’s like inviting a bull into a china shop. Let’s break down how to connect these tiny powerhouses without sparks—or regrets.
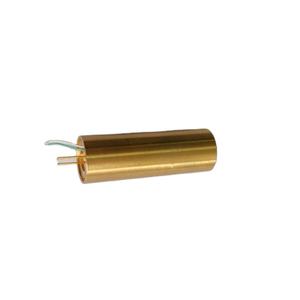
First off, know your pins. Thyristors usually have three legs: anode, cathode, and gate. Mix them up, and you’ll get silence instead of performance. The anode is the entry point for current, the cathode is the exit, and the gate is the “on” switch. Think of them as a trio in a relay race—the gate hands off the baton to the anode and cathode to keep things moving. Labeling the pins with a marker helps. If you’re unsure, check the datasheet. Symbols vary between manufacturers, and guessing is a fast track to fried components.
Soldering thyristors? Keep it cool. These parts hate heat. Use a heat sink clip on the leg you’re working on. A cheap metal alligator clip works fine. Solder quickly—under three seconds per joint. Lingering with a hot iron can cook the semiconductor inside. If the joint looks dull or crusty, redo it. A bad connection here is like a shaky bridge; it might hold… until it doesn’t.
Testing is your best friend. Before plugging anything into a live circuit, grab a multimeter. Set it to continuity mode. Touch the probes to the anode and cathode. If it beeps, you’ve got a short. That’s bad. Next, check the gate. Apply a tiny voltage (like 5V) between the gate and cathode. The resistance between anode and cathode should drop. If nothing happens, the gate might be dead—or you wired it backward.
Watch out for sneaky mistakes. Reversing anode and cathode is a classic error. It lets current flow backward, which thyristors despise. Another pitfall? Forgetting the gate needs a pulse, not constant voltage. Think of the gate as a doorbell—press it once to get in, but holding it down won’t keep the door open. Use a quick pulse to trigger the thyristor, then let go.
Spacing matters too. Crowding thyristors on a board traps heat. Leave room for airflow, like giving dancers space on a floor. If you’re stacking them, add insulation. A tiny slip can turn your project into a light show.
Voltage spikes are silent killers. Thyristors hate surprises. Add a snubber circuit—a resistor and capacitor in series—across the anode and cathode. It absorbs sudden voltage surges, like a cushion for electrical shocks. No snubber? Expect random misfires or early burnout.
Practice makes perfect. Start with low-power circuits. A 12V battery and small motor are good for testing. See how the thyristor behaves when you tweak the gate signal. Once you’re confident, scale up.
One last tip: clean your workspace. Dust or metal scraps can bridge connections. A toothbrush and isopropyl alcohol wipe down boards fast. Dirty circuits are flaky circuits.

(Connecting Thyristors Correctly: Tips and Tricks)
Thyristors aren’t magic, but they demand respect. Get the pins right, solder smart, test twice, and plan for hiccups. Soon, you’ll be waltzing through projects that once felt like minefields.